Bitbucket Cloud
Follow the steps below to share your private Bitbucket Cloud repositories with Escrow4all.
Create a new group
Continue with Add group member if you want to add Escrow4all to an existing group.
-
Sign in to Bitbucket Cloud.
-
On the top bar, click on your avatar to open the user account menu.
-
Click on All workspaces.
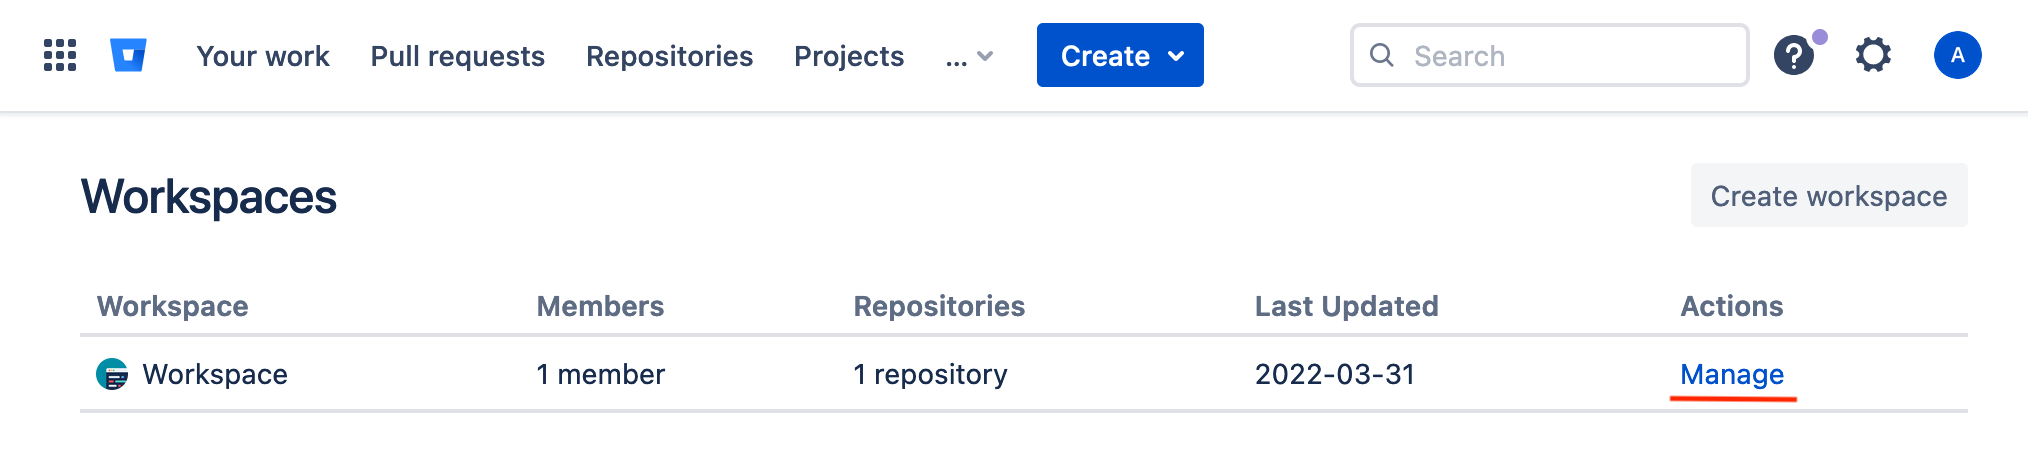
-
Click on Manage.
-
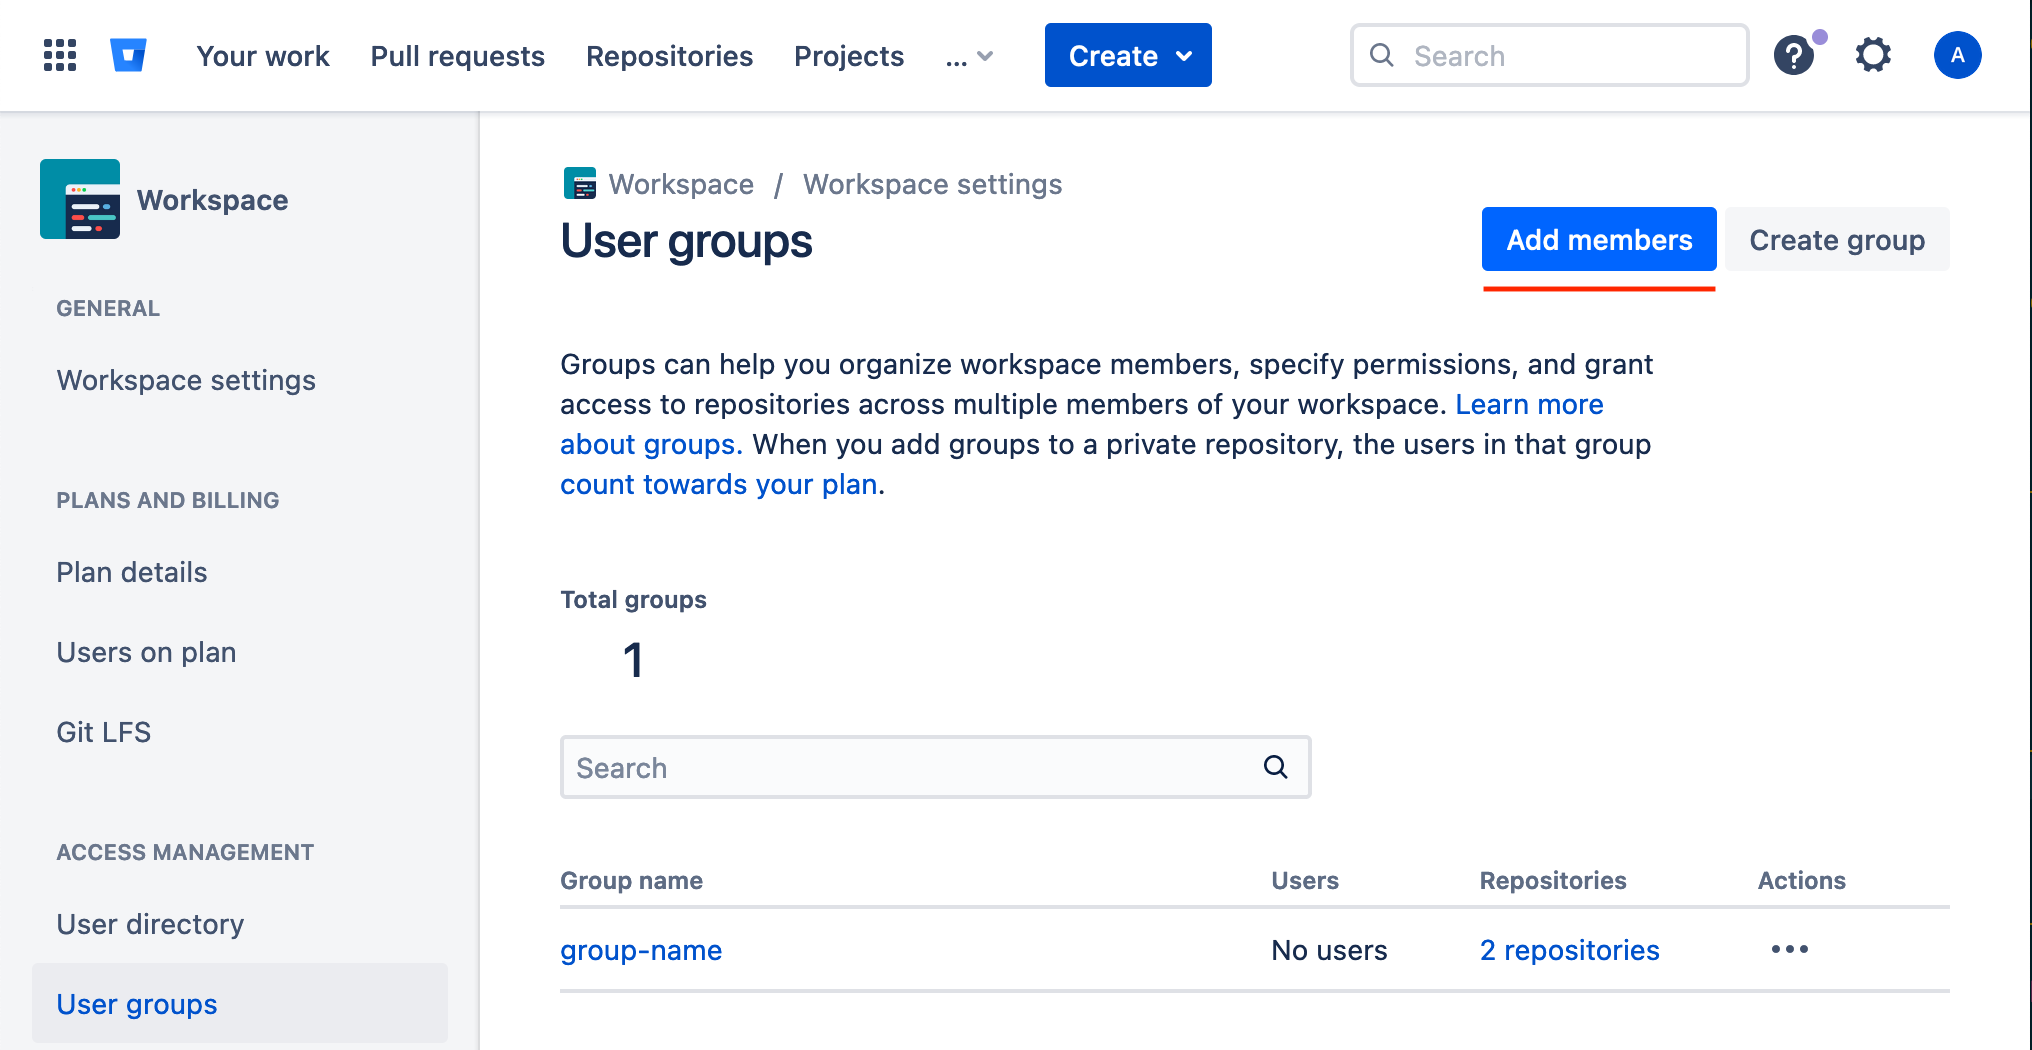
Click on User groups in the left side bar.

-
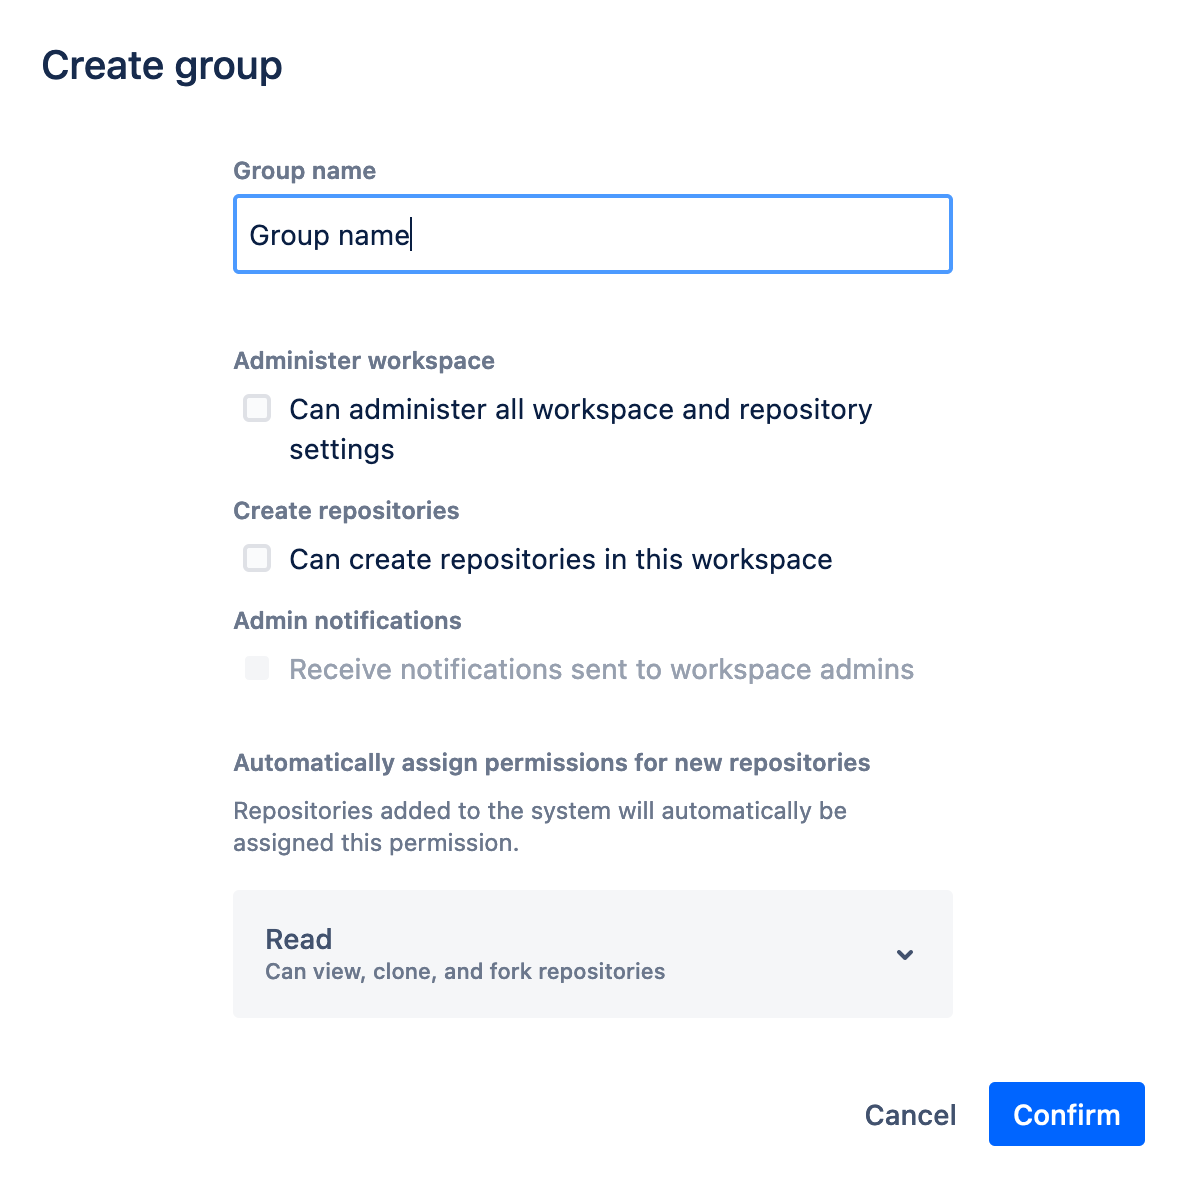
Click on Create group.
-
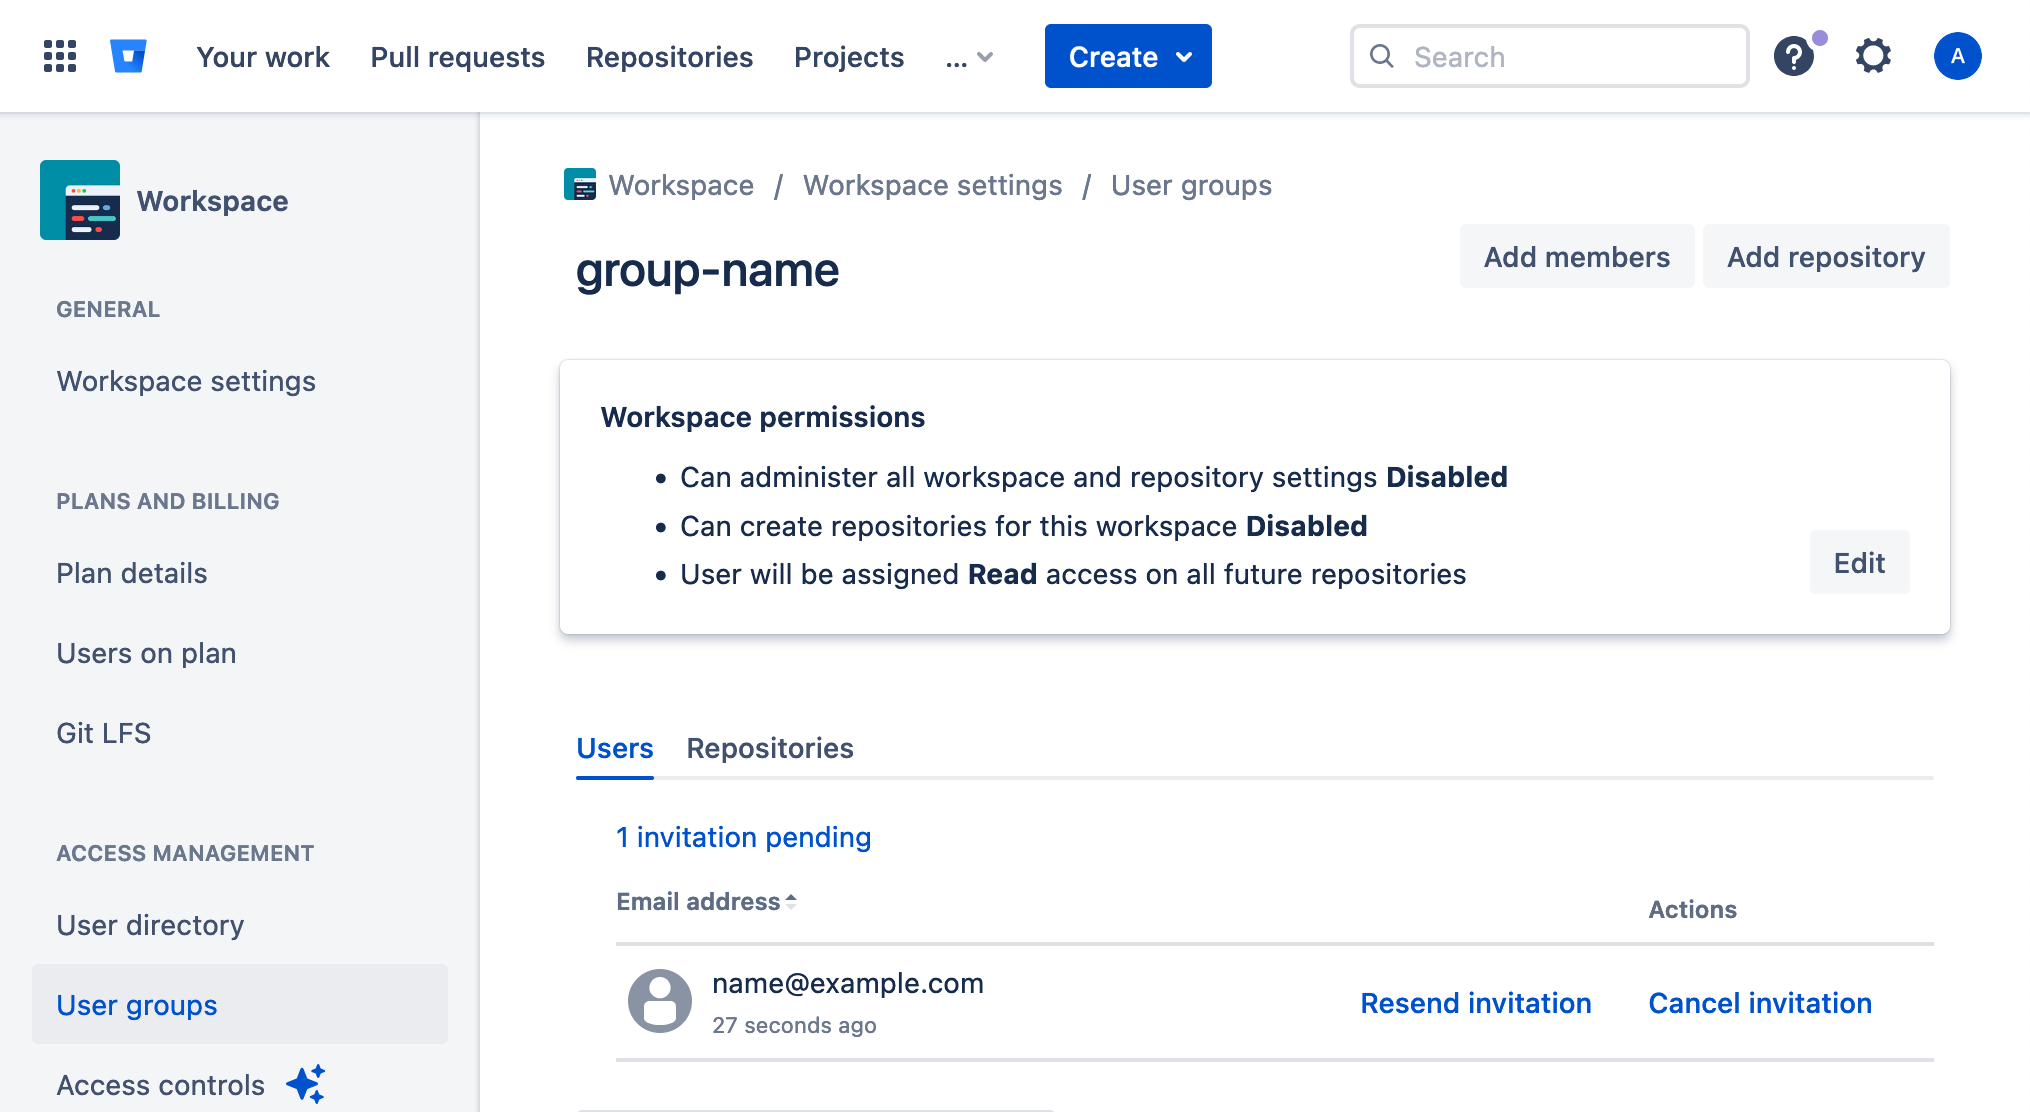
Enter a group name, choose Read permissions and click on Confirm.
Note that the permissions are assigned automatically to new repositories.
-
On the left side bar, click on User groups.
-
Click on the Group name.
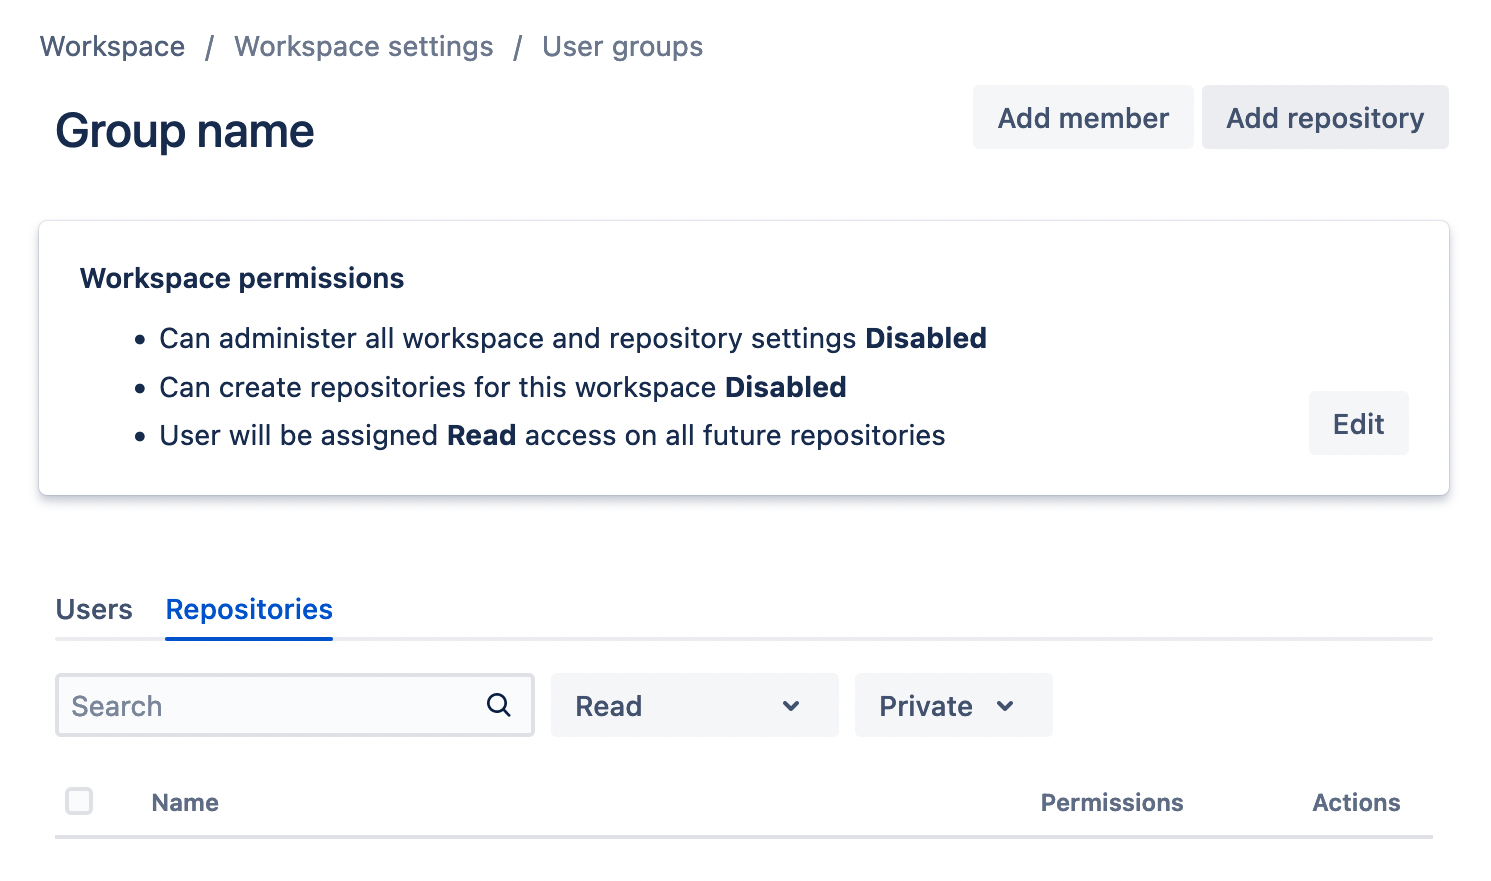
-
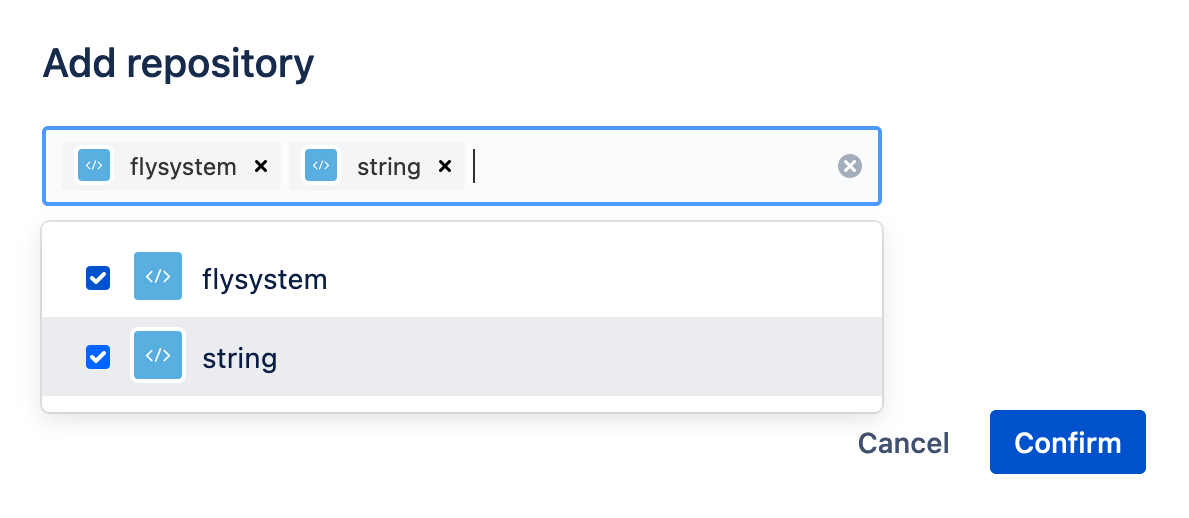
Click on Add repository.
-
Choose the repositories to add to the group.
-
Click on Confirm.
Add group member
-
On the top bar, click on your avatar to open the user account menu.
-
Click on All workspaces.
-
Click on Manage.
-
Click on User groups in the left sidebar.
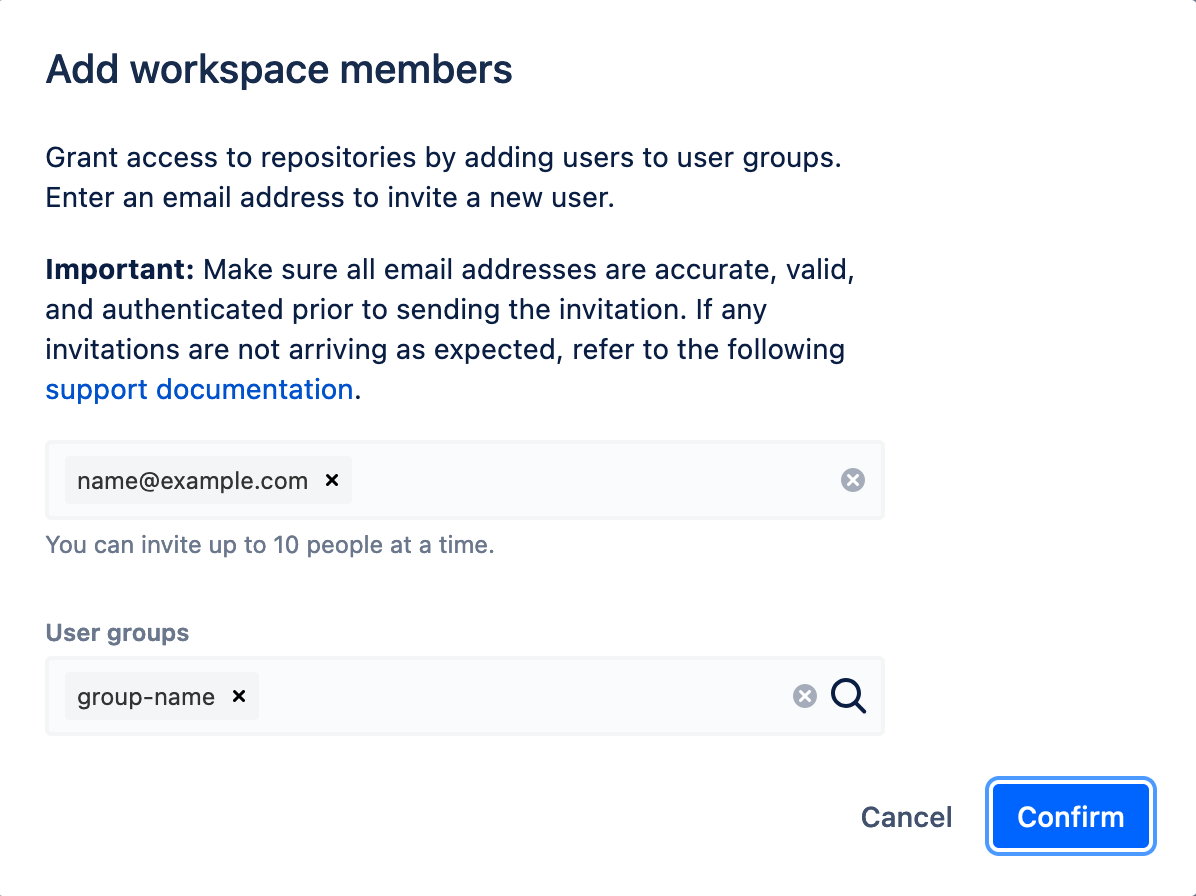
Click Add members.
-
Enter the email address provided by Escrow4all, choose a user group and click on Confirm.
-
Click on the group name to view the pending invitation.
-
Once the invitation has been accepted, Escrow4all becomes a member of the group.

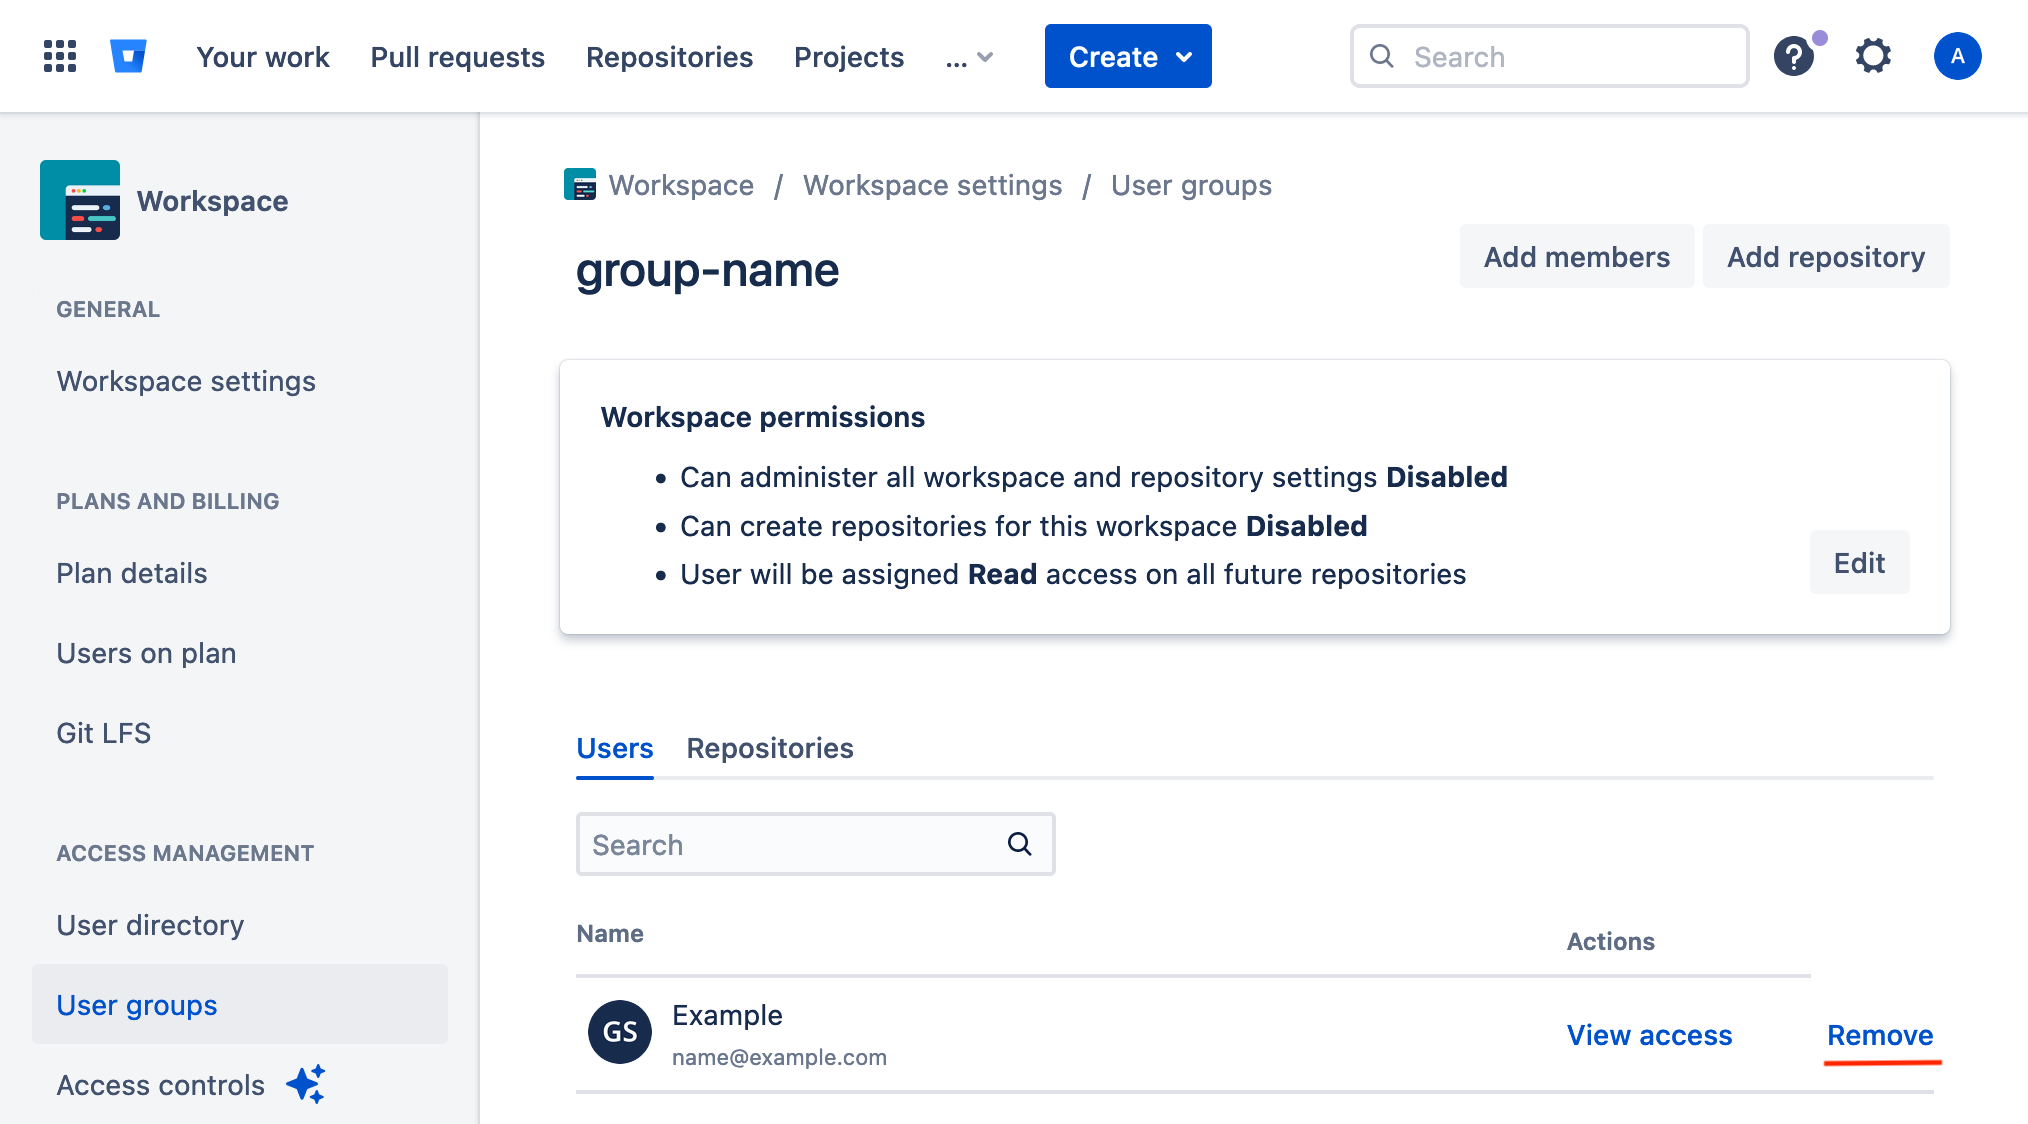
Revoke access
Upon termination of the escrow agreement, revoke access from Escrow4all.
-
On the top bar, click on your avatar to open the user account menu.
-
Click on All workspaces.
-
Click on Manage.
Click on User groups in the left side bar.
Click on the group name to change.
Search for Escrow4all.
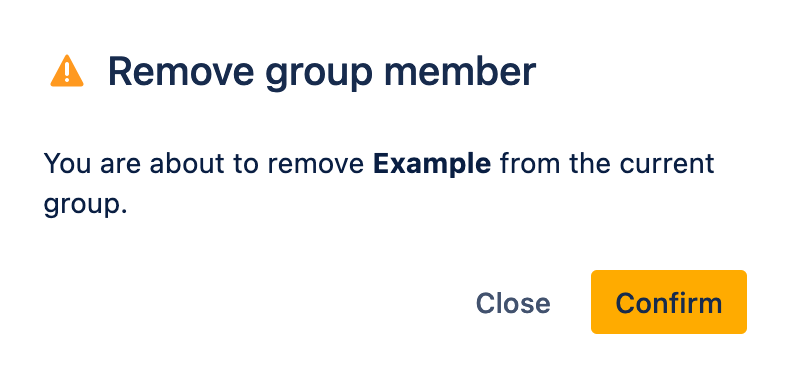
Click on Remove.
-
Click on Confirm.